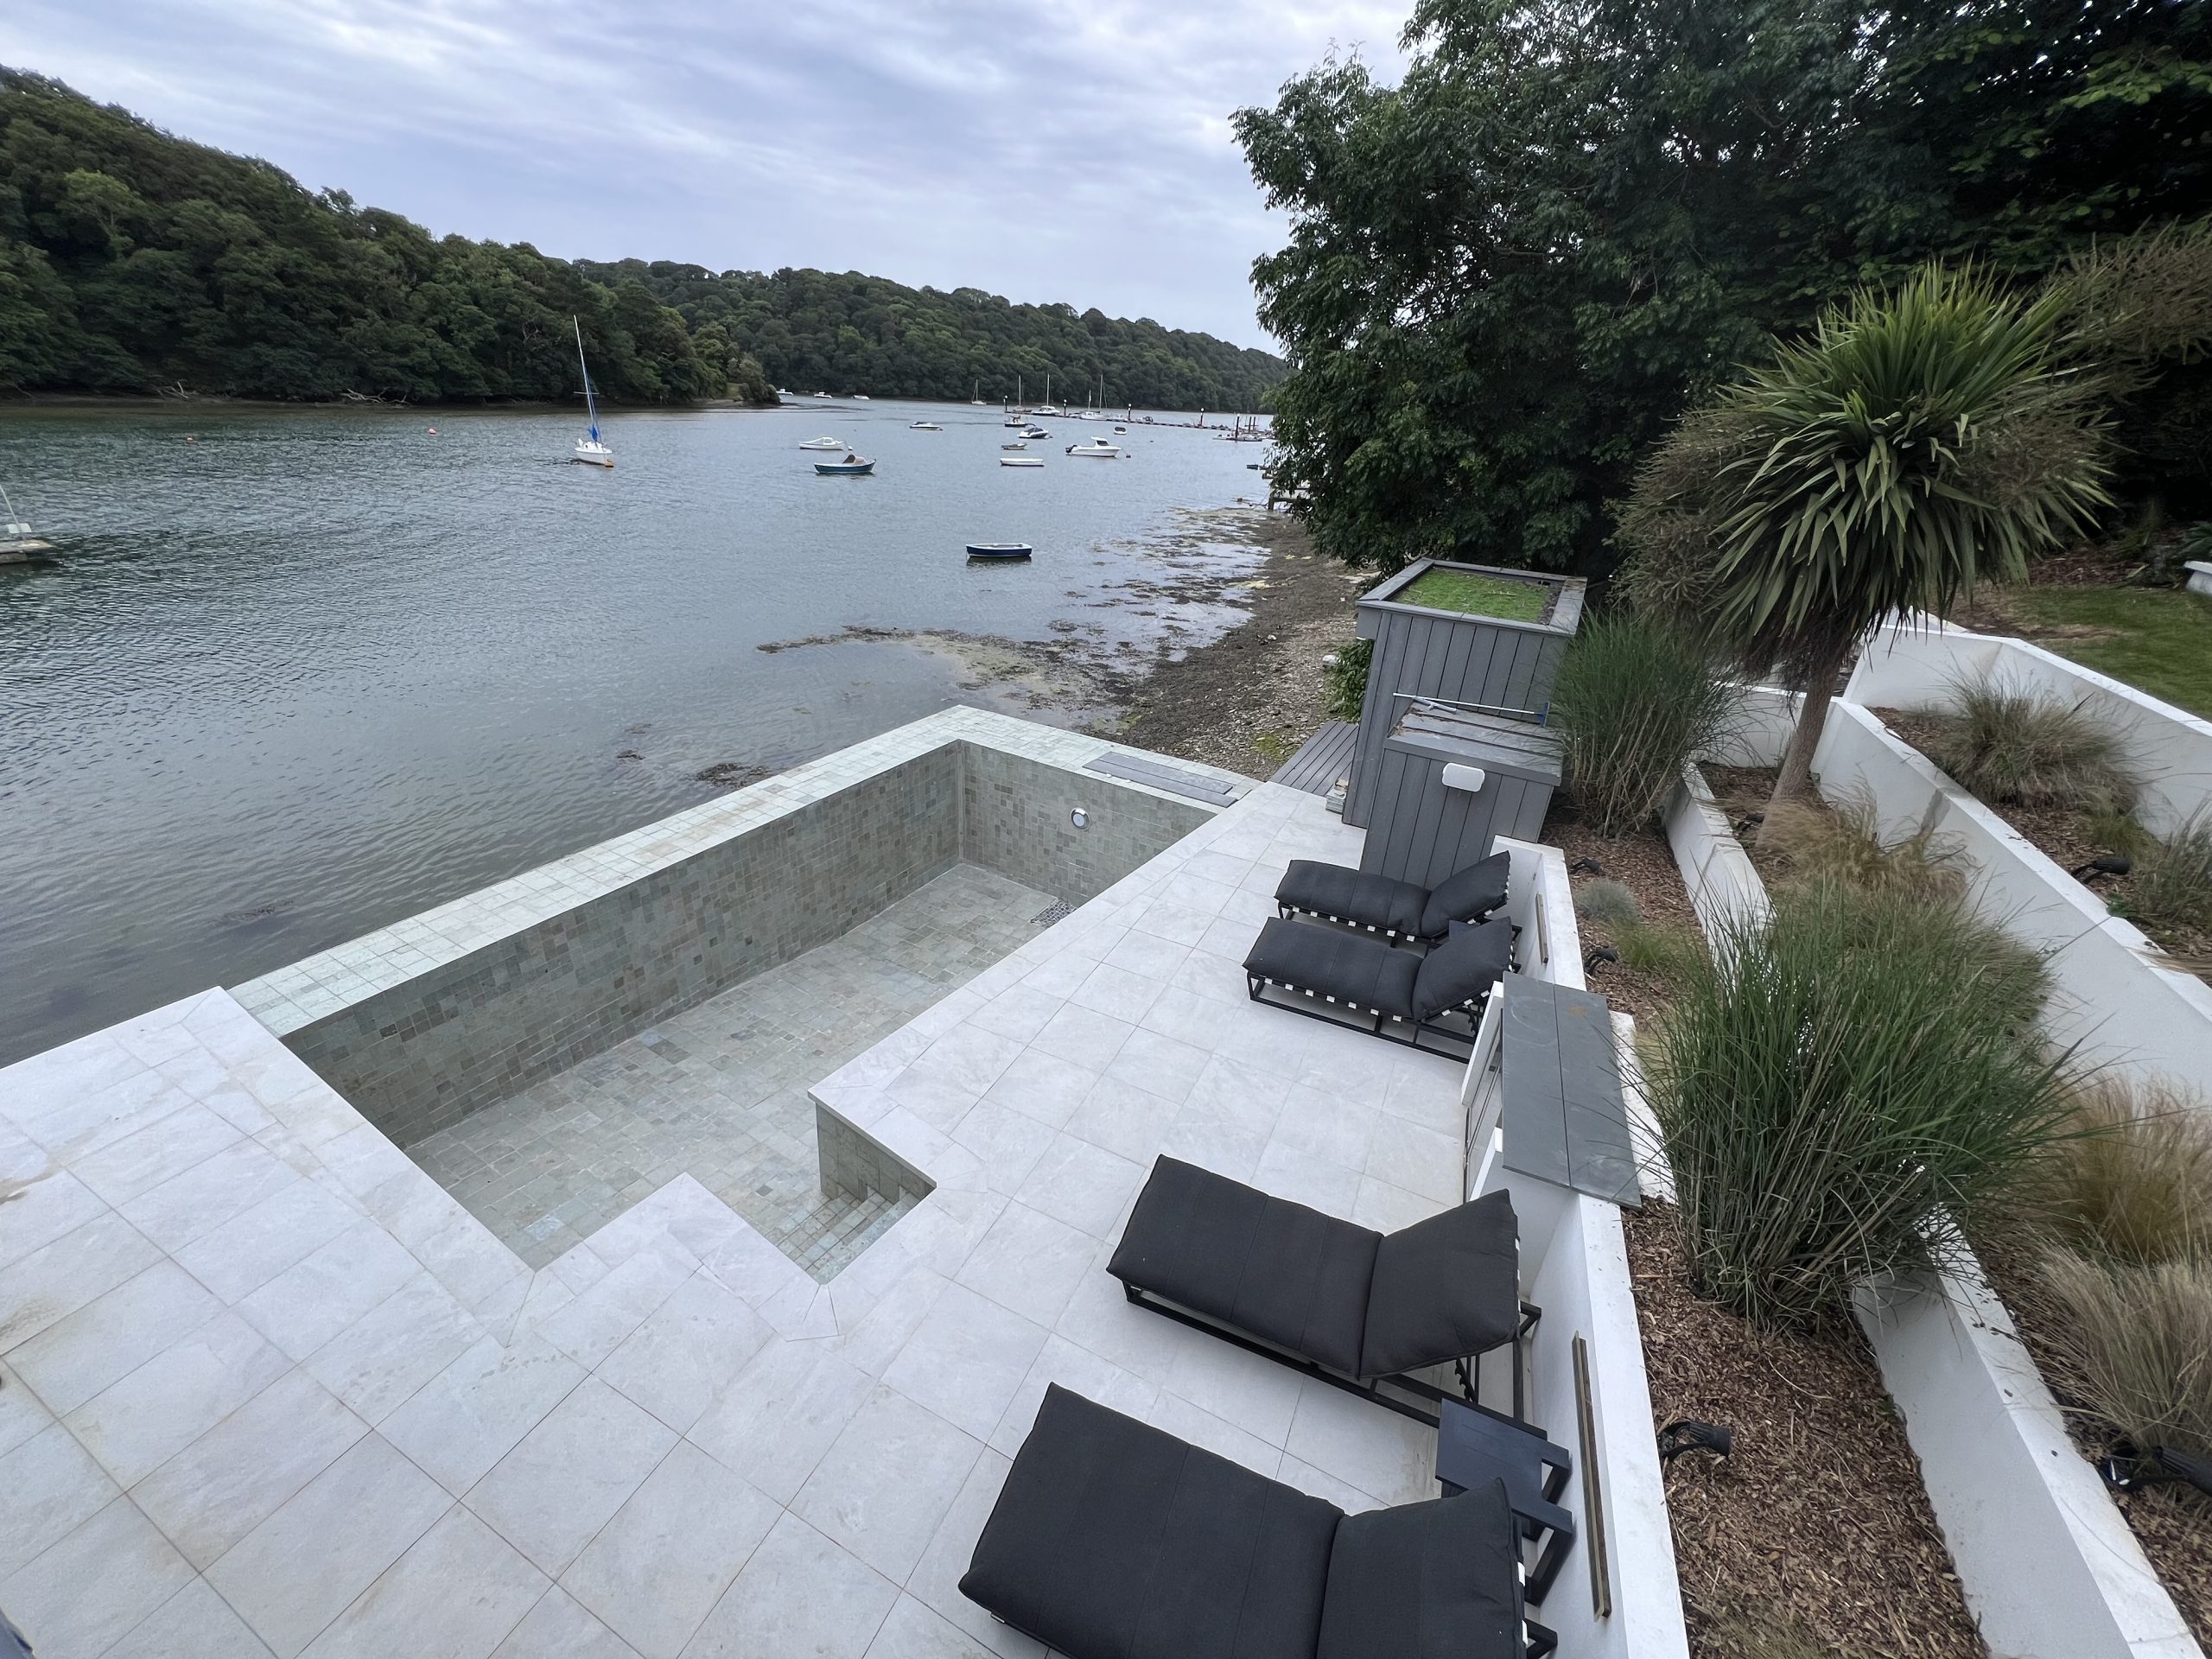
Swimming pools are not just a place for relaxation and recreation; they often hold artistic and cultural value, especially when adorned with handcrafted tiles from Italy. Recently, I had the privilege of restoring such a pool, and the experience was both challenging and rewarding. This blog post will walk you through the meticulous process involved in restoring a swimming pool to its former glory, ensuring both beauty and functionality.
Step 1: The Initial Assessment
The first step in any restoration project is a thorough assessment. The pool in question had stunning Italian handmade tiles that had started to deteriorate. The latex floor and sides showed signs of wear, and the waterproofing had become compromised. Our goal was to restore the pool while preserving the exquisite tiles.
Step 2: Careful Removal of Italian Handmade Tiles

Removing the Italian handmade tiles was a delicate task. Each tile was carefully pried off to avoid damage. This required precision and patience, as any mistake could ruin these irreplaceable pieces of art. Once removed, each tile was labeled and stored securely for the next phase of the project.
Step 3: Stripping the Latex Floor and Sides
With the tiles safely removed, the next step was to strip off the old latex coating from the floor and sides of the pool. This involved using specialized tools to scrape away the latex without damaging the underlying structure of the pool. It was a labor-intensive process, but necessary to prepare the surface for the new coatings and waterproofing.
Step 4: Applying Three Coats of Tanking
Tanking is crucial in ensuring the pool is watertight. We applied three coats of a high-quality tanking compound. Each coat was allowed to dry thoroughly before the next was applied. This created a robust waterproof barrier, essential for the longevity and functionality of the pool.
Step 5: Cleaning and Preparing the Tiles
Each Italian tile was meticulously cleaned to remove any old adhesive and residue. This was a painstaking process, but essential to ensure that the tiles would bond effectively with the new grout. Clean tiles also ensured that their intricate designs and vibrant colors would shine once they were reinstalled.
Step 6: Replacing and Grouting the Tiles
With the tiles cleaned and the pool surface prepped, it was time to reinstall the tiles. Each tile was placed with precision, ensuring the original patterns and designs were preserved. The grouting process followed, filling the spaces between the tiles with a high-quality grout to secure them in place and provide a smooth, finished look.
Step 7: Applying Three Coats of SBR Waterproofing
To further enhance the pool’s durability and water resistance, we applied three coats of Styrene Butadiene Rubber (SBR) waterproofing. This flexible and resilient coating ensures that the pool remains watertight and can withstand the rigors of regular use. Each coat was carefully applied and allowed to cure properly, creating a final layer of protection.
The Final Result
The result of this meticulous restoration process was a beautifully restored swimming pool that not only looked stunning but was also fully functional and watertight. The Italian handmade tiles were preserved and showcased in all their glory, adding a touch of elegance and heritage to the pool.
Conclusion
Restoring a swimming pool, especially one adorned with handmade tiles, is a complex and detailed process. It requires a deep appreciation for craftsmanship, a steady hand, and a commitment to quality. This project was a testament to the art of restoration, where every step was taken with care and precision to ensure the pool was not only functional but also a work of art. Whether you’re a pool owner or a fellow craftsman, I hope this journey inspires you to appreciate the beauty and effort that goes into preserving such treasures.

