If you’ve ever considered adding a shower room to your home, extending a ground-floor cloakroom can be an ideal solution. Not only does it enhance the functionality of your home, but it also adds value and convenience. In this blog, we’ll walk you through how we transformed a small cloakroom into a spacious and stylish shower room by extending the space, moving walls, and installing all the necessary plumbing, electrics, and finishing touches.
Step 1: Planning and Design
The first step in any renovation project is careful planning. We assessed the layout of the existing cloakroom to identify how we could best maximize the available space. Our goal was to move an internal wall out by 1 meter to create more room for a shower enclosure.
A detailed floor plan allowed us to determine the exact placement of plumbing and electrical connections, ensuring that everything would work seamlessly in the new layout.
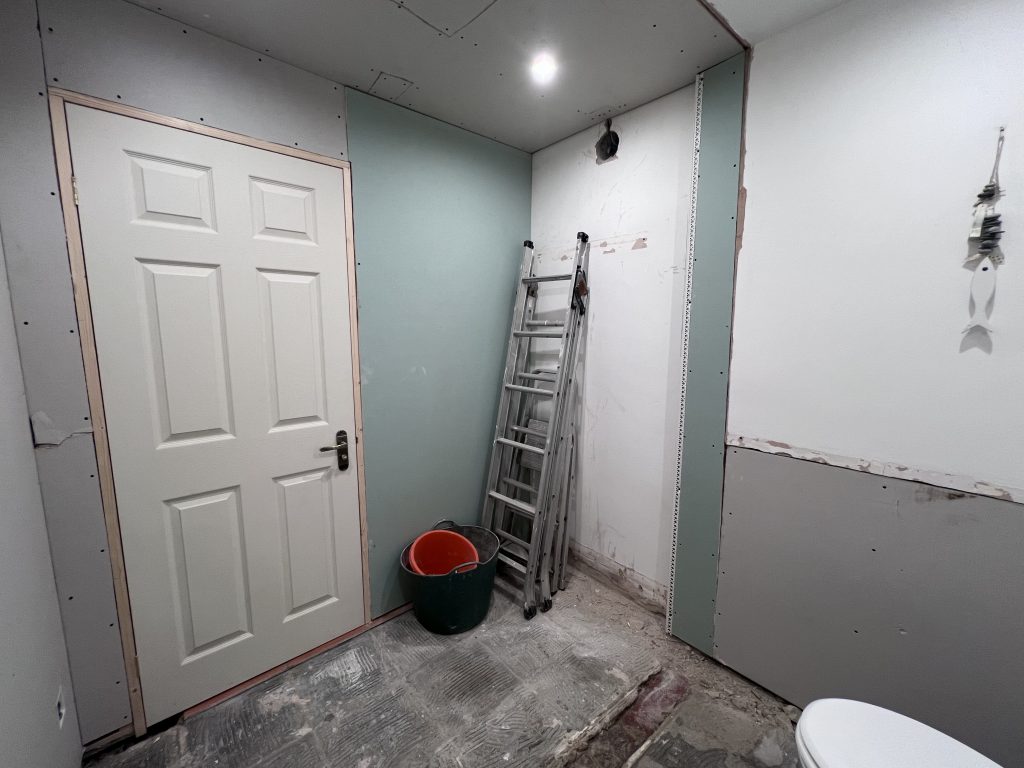
Step 2: Extending the Space
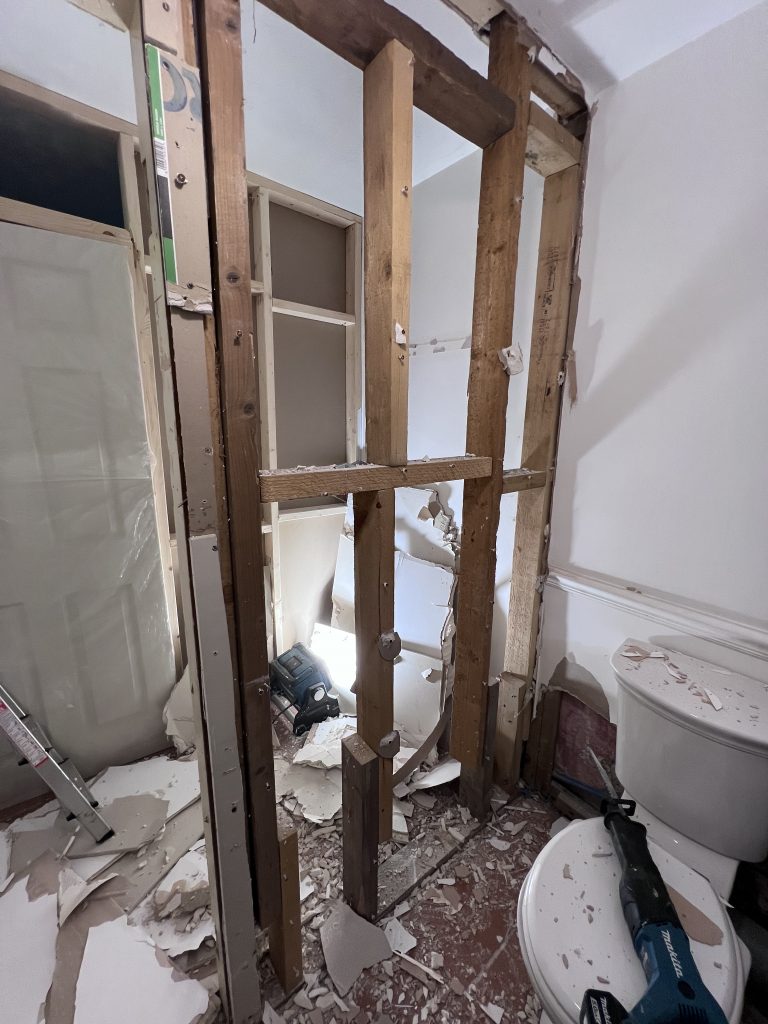
To extend the cloakroom, we had to move an internal wall outward by 1 meter. This required removing the existing partition, creating a new framework, and reinforcing it to ensure structural stability. While a relatively simple extension, moving a wall involves precision, as it impacts the room dimensions and accessibility to adjacent spaces.
Once the new wall was erected, we checked it was level and properly aligned. This gave us the additional square footage needed to install a comfortable shower area.
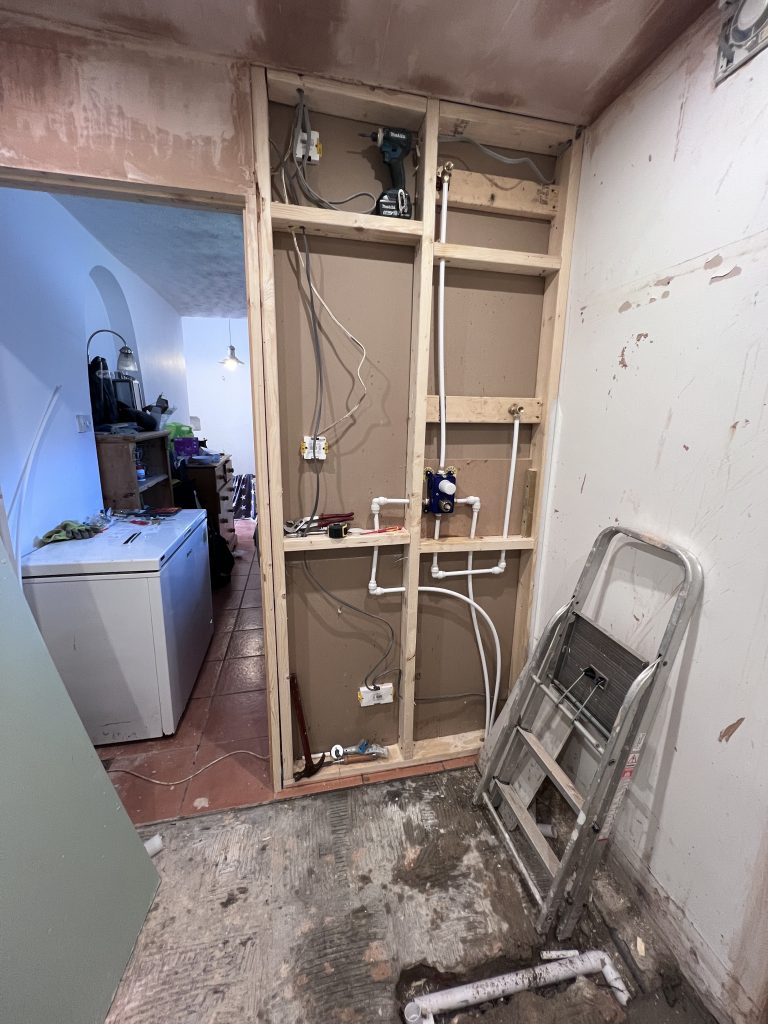
Step 3: Plumbing for the Shower
With the extra space in place, we started laying the groundwork for the new plumbing. The main challenge was running new water pipes for both hot and cold supply and connecting the drainage system for the shower.
Given that this was on the ground floor, routing pipes beneath the floorboards allowed for minimal disruption. Ensuring a reliable water flow and a quick drainage system was key to making the shower as efficient and problem-free as possible.
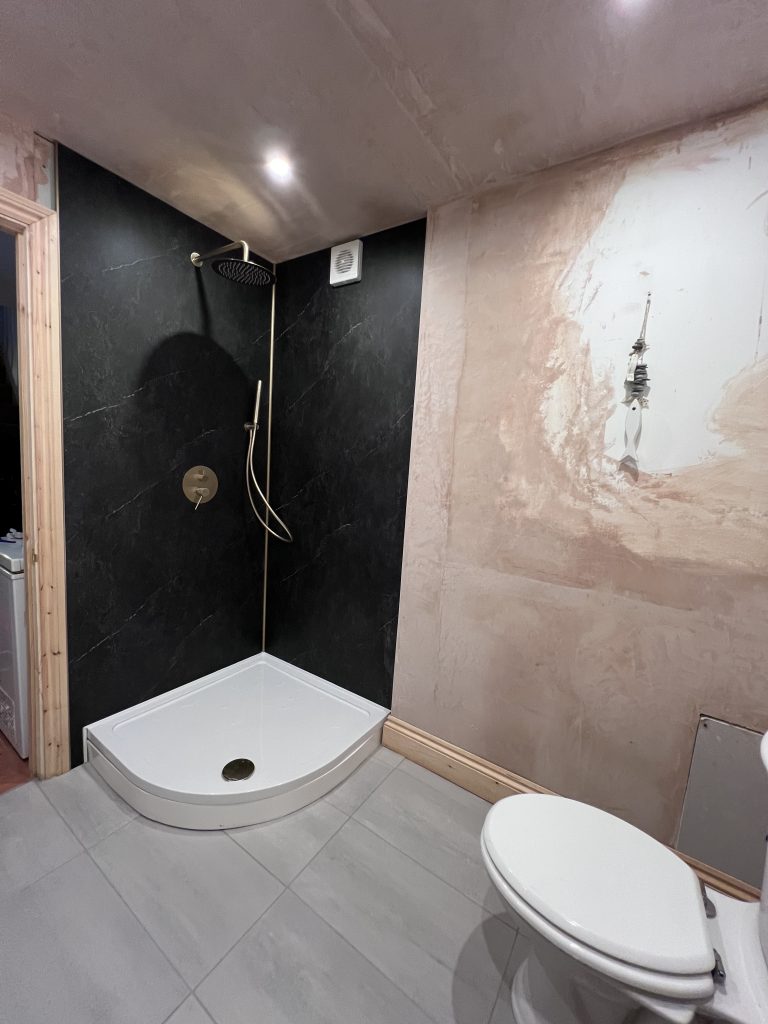
We also installed a thermostatic mixer shower for precise temperature control, which offers both comfort and safety.
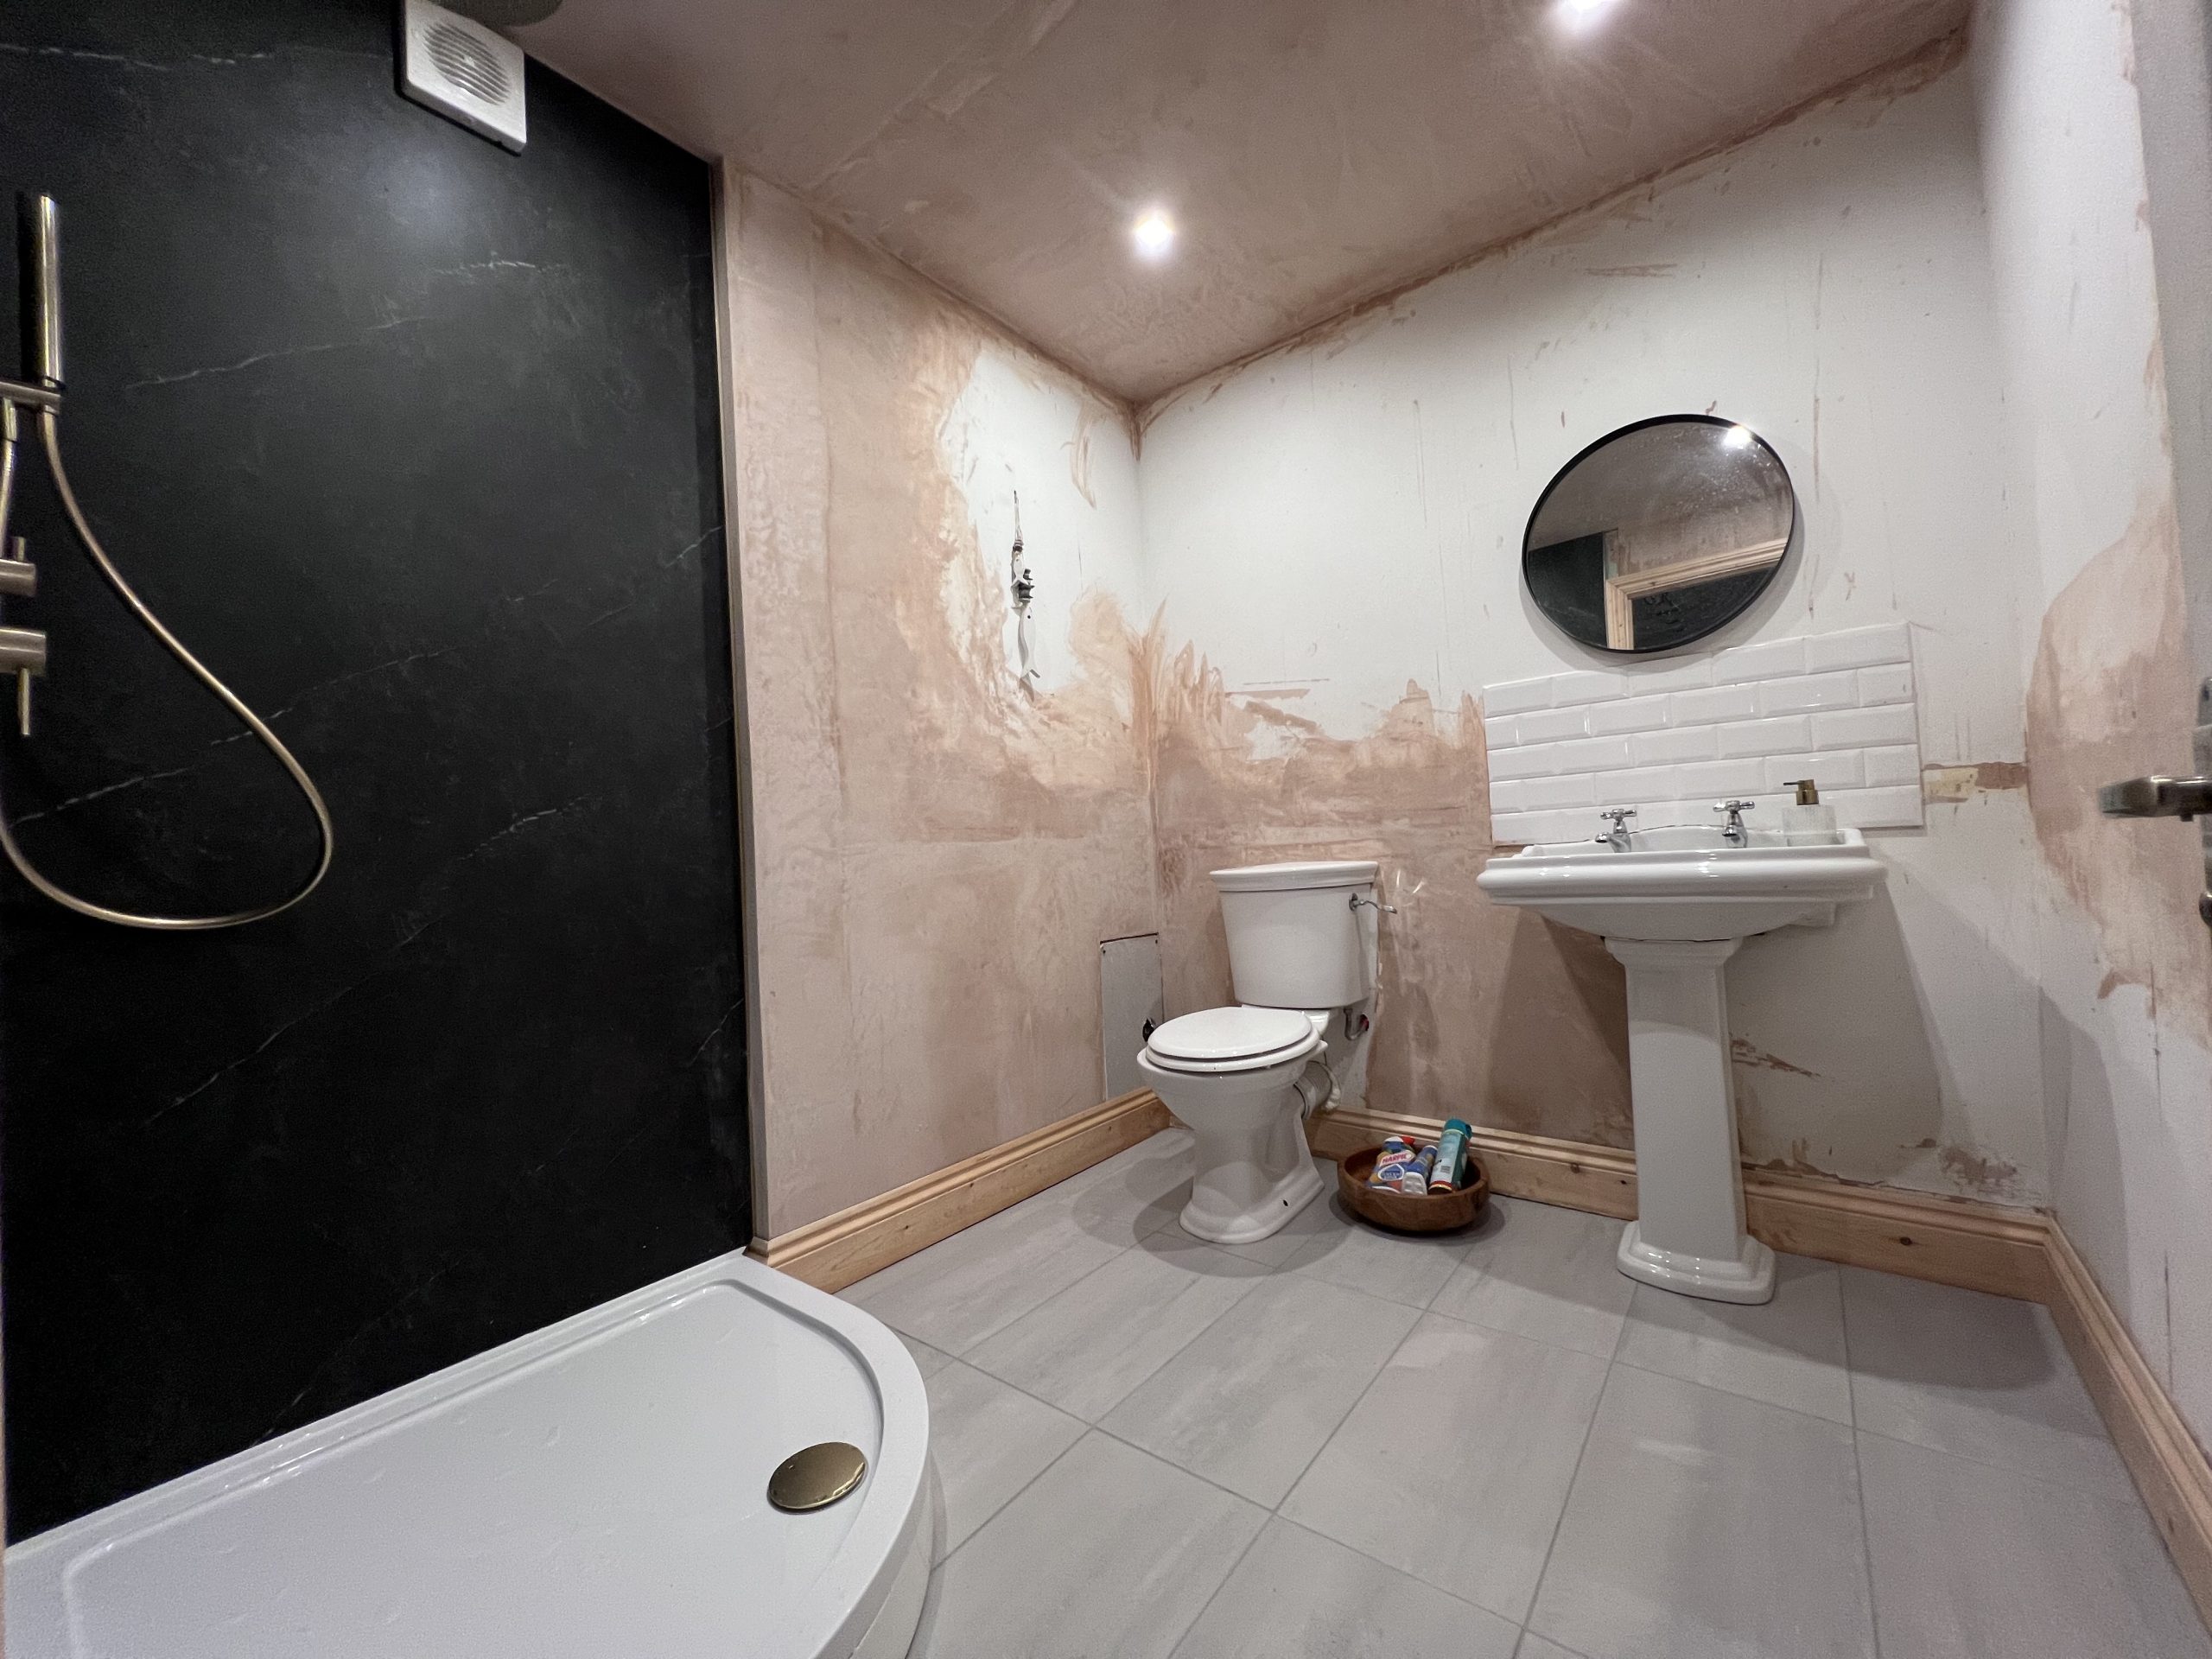
Step 4: Electrical Work and Ventilation
A shower room requires more than just plumbing—it also needs proper lighting and ventilation. We installed a new extractor fan to prevent moisture build-up, which can cause mold and damp problems. The extractor was carefully positioned to pull steam and moisture out efficiently, keeping the room fresh and dry.
In addition to the fan, new electrics were installed for an overhead light and a dedicated power supply for the fan, all compliant with current building regulations for wet areas. Safety is paramount when working with electricity in a room where water is present, so all wiring was routed through moisture-resistant fittings and circuits were protected with RCDs (Residual Current Devices).
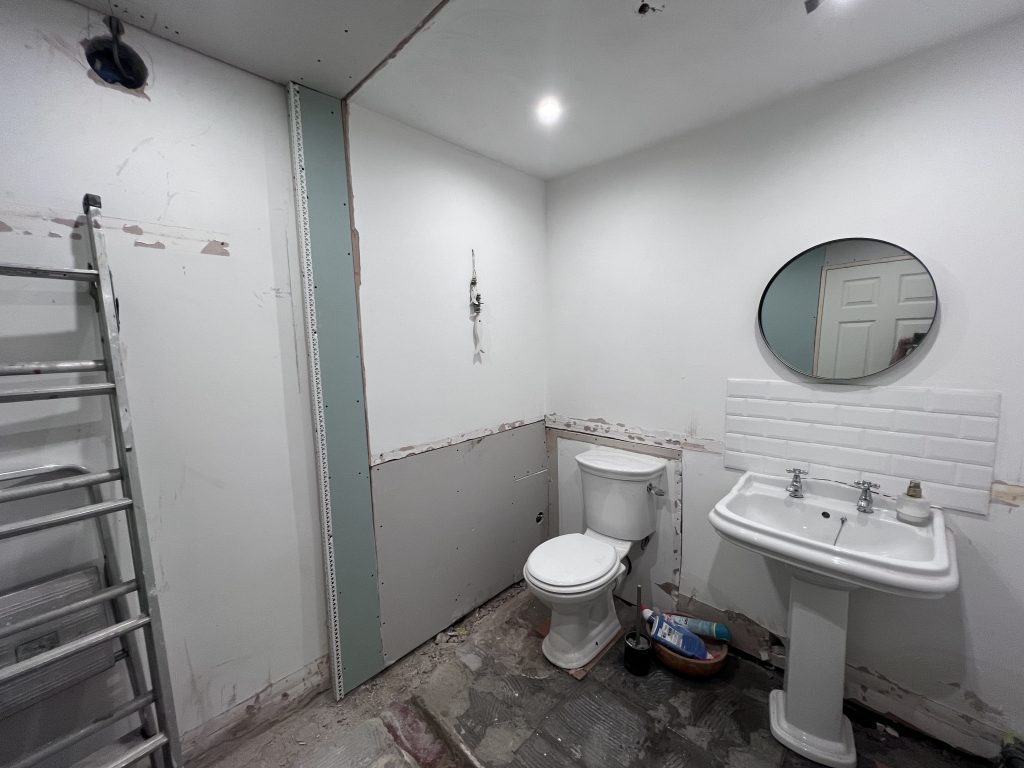
Step 5: Re-boarding and Plastering
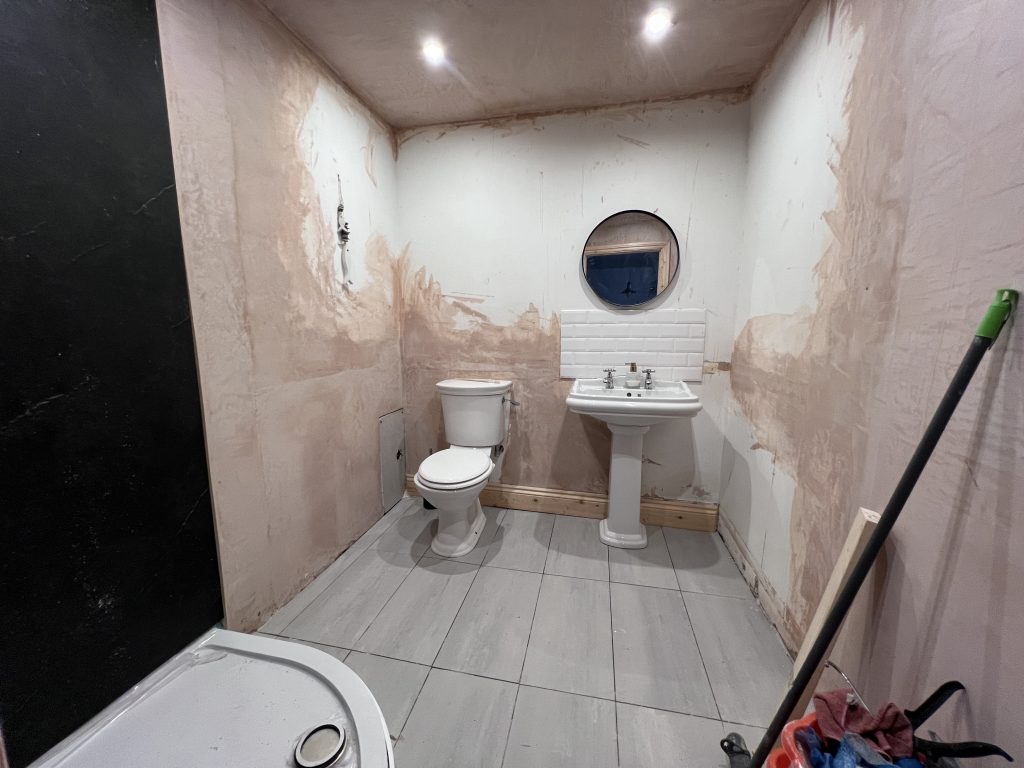
With all the behind-the-scenes work completed, it was time to prepare the walls and ceiling for their final finishes. We re-boarded the walls with moisture-resistant plasterboard, ideal for wet rooms, and then moved on to plastering.
A smooth, even finish on the walls was critical, as this would provide the perfect base for painting and tiling later on. After plastering, we allowed ample drying time to avoid any future problems with cracking or uneven surfaces.
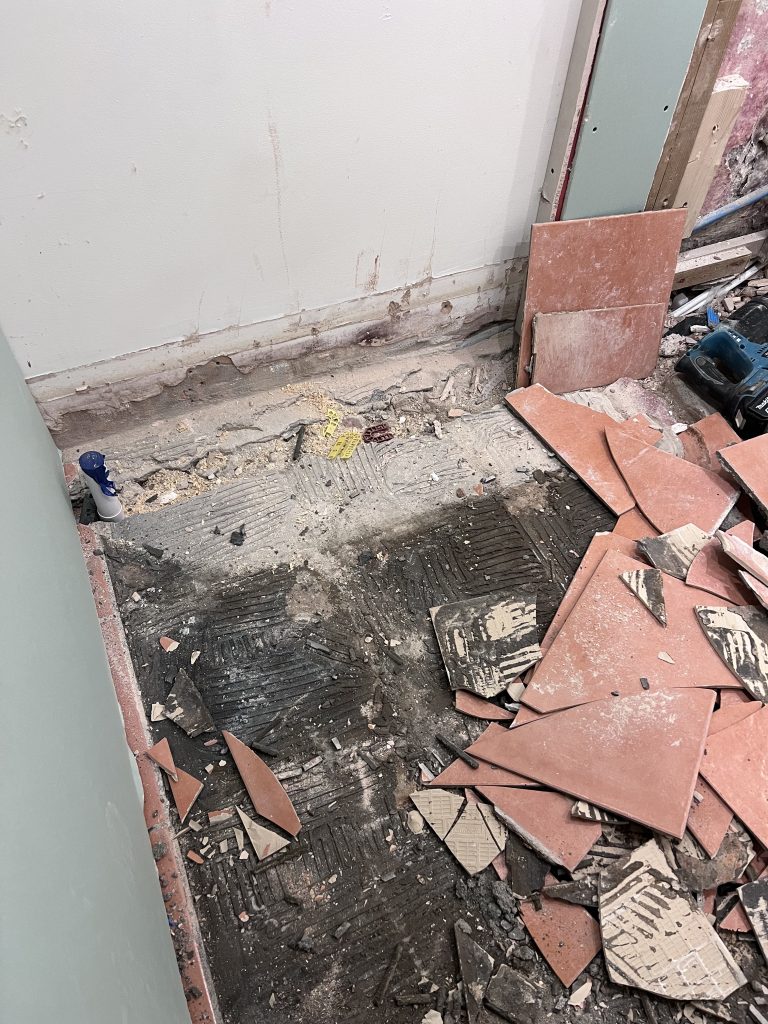
Step 6: Tiling the Floor
For the floor, we selected durable and waterproof porcelain tiles, which are perfect for high-moisture environments like a shower room. The tiles were laid with a slight slope towards the drain, ensuring that water would flow away from the shower efficiently.
Choosing the right tiles was important for both function and aesthetics. Porcelain tiles not only offer a premium finish but are also slip-resistant and easy to clean, making them a practical choice for a shower room floor.
Step 7: The Finishing Touches
Once all the construction and installations were complete, we moved on to the final touches to bring the new shower room to life. This included adding:
To complete the transformation, the walls were painted with a high-quality moisture-resistant paint, designed to withstand the humid environment of a shower room.
Conclusion: A Stylish and Functional Shower Room
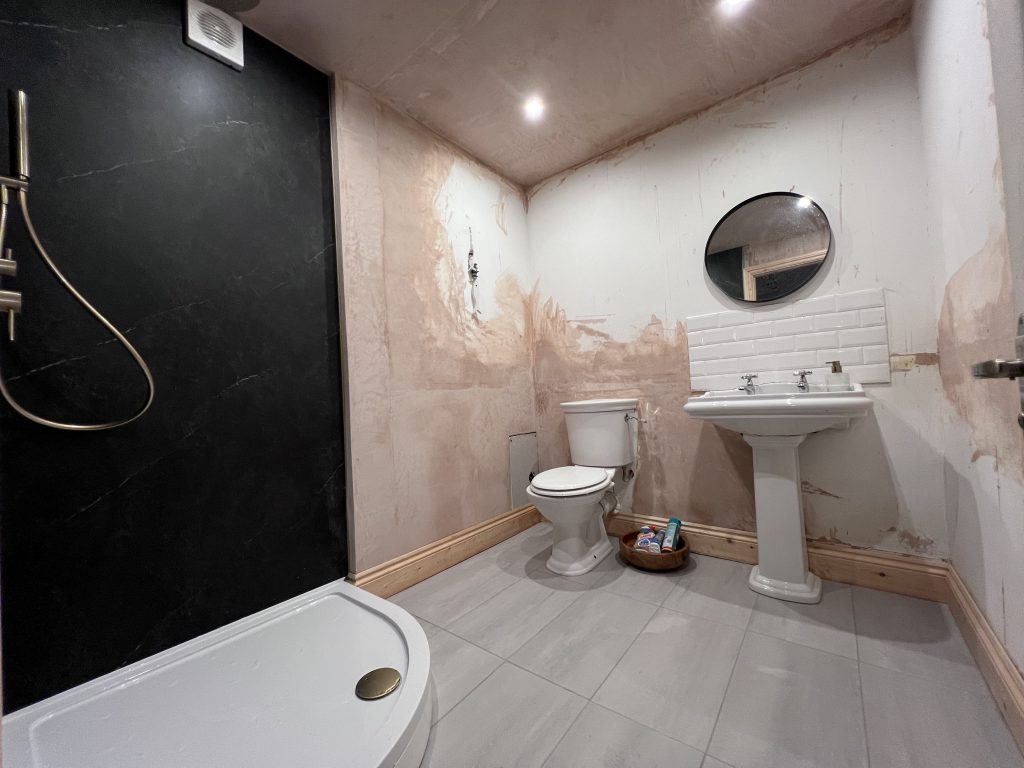
The result of this project is a modern, functional, and beautiful shower room that enhances the entire ground floor. By extending the cloakroom, moving walls, running new plumbing and electrics, and finishing with high-quality materials, we’ve created a space that’s both practical and luxurious.
Whether you’re looking to add convenience for guests or create a more accessible bathroom space, extending an existing cloakroom can be a cost-effective and impactful solution. Not only did we add value to the home, but we also made a big difference to everyday convenience and comfort.
Are you considering a similar project? Feel free to get in touch for advice or a consultation on how you can transform your space!